Closet Project
I am one of those odd people who loves to organize. It gives me a sense of accomplishment and makes me feel like I can breathe easier. That being said, I think it can take time to really get organized in a space. We have been in our home for 4 years and I am still organizing (and re-organizing) closets, drawers and cabinets. It takes time to determine how you will really use a space and I love the feeling of having “a place for everything and everything in it’s place”.
Our house is a ranch with no basement. We have lovely vaulted ceilings which, unfortunately, means we also have no attic. Our house is big on charm and small on storage space, so I have been working to squeeze and create storage out of every inch. Recently, my husband and I took on a project of revising and organizing one of our few closets.
This closet created some specific challenges because it is a super weird shape, It is very short and it has no straight walls. The door opening is only 64 inches high. We have lovingly taken to calling it “the hobbit closet”.
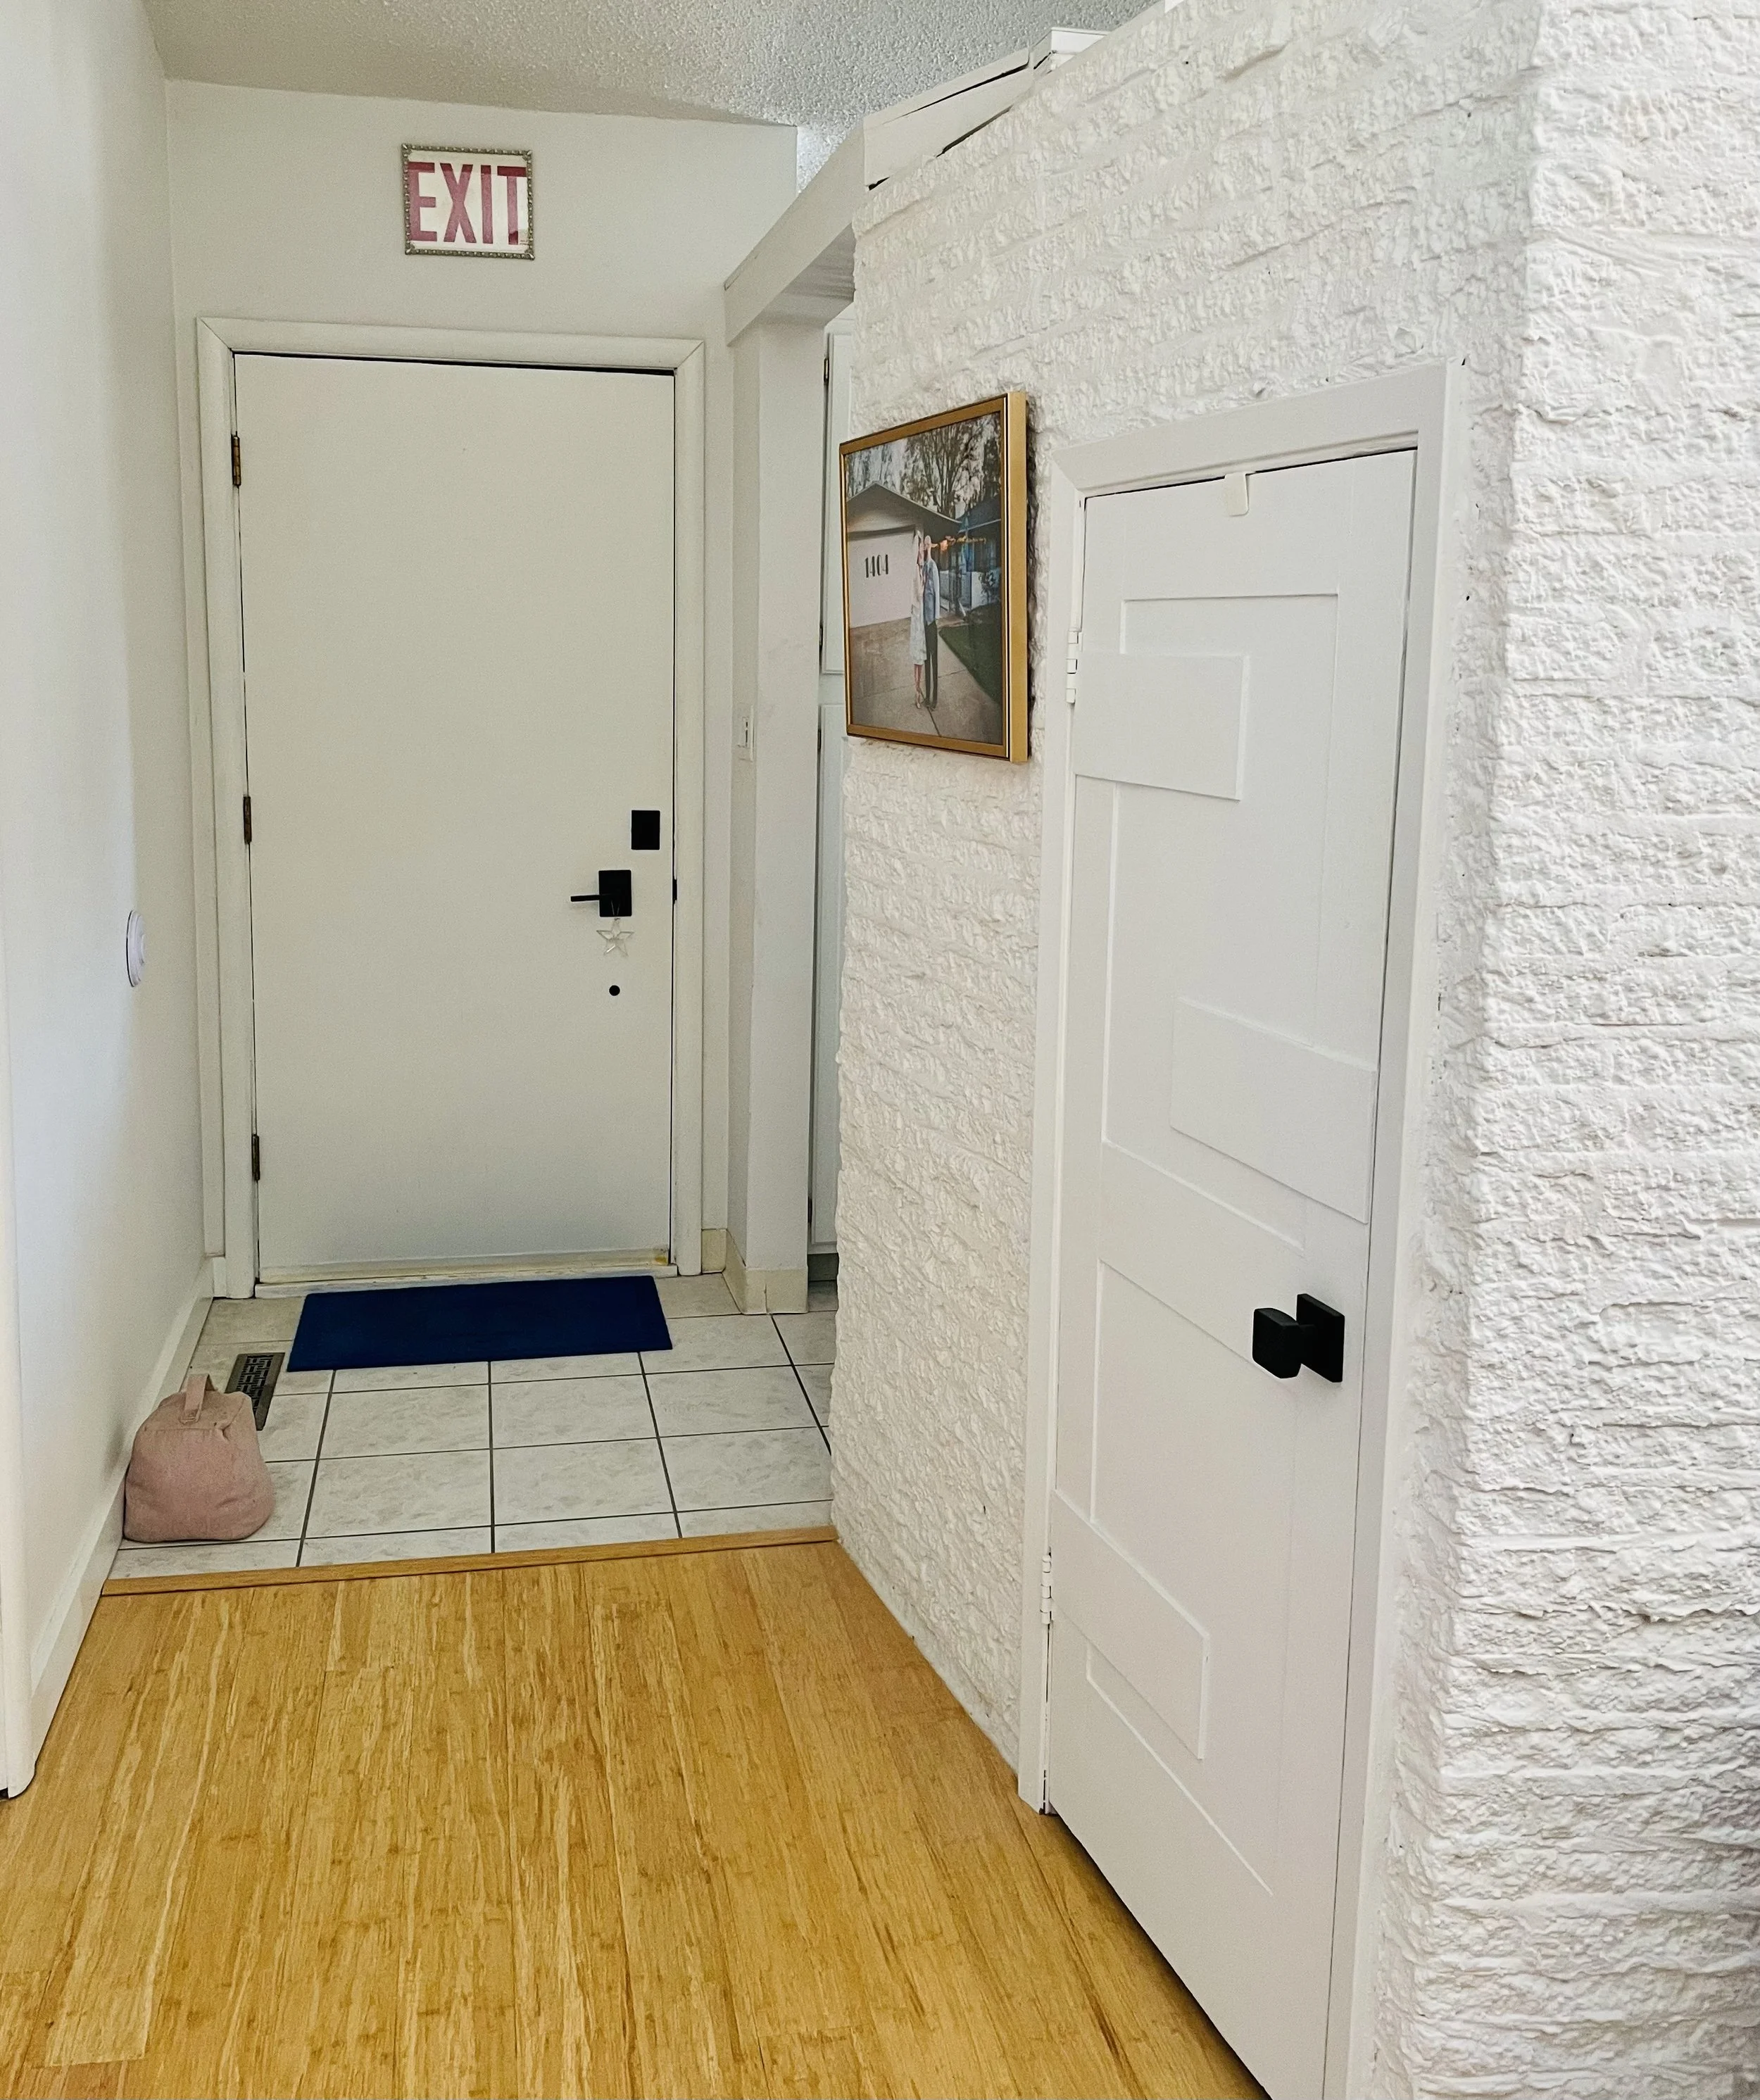
Over the years, there have been some remodels completed on our house. This closet is located just inside of what was originally the entry and was used (we think) as a coat closet. It is also right off of our kitchen. Before this project, we had used it as kind of catch-all storage.
This photo shows how short the closet is. The top of the closet is open and the walls are brick.
These photos show how the closet area looked when we first saw the house and how it looks today. Previously, I wrote about how we did a makeover on all of the interior doors in our house. A little paint and new flooring also made a huge difference.
Before this project, the closet had one shelf across the top, a single rod and some randomly placed hooks in it. I knew that for us, shelves would be more functional than a hanging rod. (We have a coat closet in another part of the house). The inside of this closet is brick, which makes hanging shelves more challenging. My husband came up with a system for the shelves and let me know that they would not be adjustable, so I needed to plan carefully where each shelf would go. We started by emptying the closet out and thinking about what items we wanted to store in it.
I made a list:
Since the closet is located off of our kitchen, it made sense to store dog food there (we have a rolling cart), so I decided to also keep all of our dog supplies/items on one shelf.
We needed a space for board games, so that would be one shelf.
This closet is also located at the end of a hallway that leads to the bedrooms. I wanted to be able to store guest bedding in it and determined that it would take up two and a half shelves.
I also wanted to be able to store some suitcases/bags in this closet to make packing for trips more convenient.
Next, I drew the interior of the closet to scale. Then, set out the items I wanted to store by groups. We already had a bunch of differently sized baskets that I wanted to use. After measuring about how much space I would need between shelves, I added that information to my drawing. It came out to 5 shelves of varying depths. The top two shelves would need to be more shallow in order to be able to see what is on the shelves, and to able to place and remove items on them.
The shelves were a challenge to cut because there is not a single straight side. After a lot of measuring and cutting, we had successfully made 5 shelves that closely matched what I had drawn. Once the shelves were cut, and the system was installed, I painted the interior out with fresh white.
Instead of liner paper, I found some terrazzo, peel and stick wallpaper that I fell in love with. I wrapped the top and bottom of each shelf with the wallpaper.
Putting everything away, how we had planned, felt so great! I also found some zippered bags to store larger comforters and bedding items in. The game shelf is hanging higher than the door opening is tall, so it isn’t showing in these pictures, but it’s the top shelf.
Adding a hook to the door made room and quick access to some multipurpose bags. We still have a few empty baskets and some room left to store more items as/if needed. I am so happy with how this project turned out! The last thing we considered was closing off the top of the closet. Some kitchen grease and dust drifts in there. It’s easily cleaned up, but would be nice to not have to worry about that.
Ultimately, we decided to tackle that part later. The list never ends!
Thank you for being here and reading about this project!
What do you think? Do you love to organize? Let me know in the comments.


